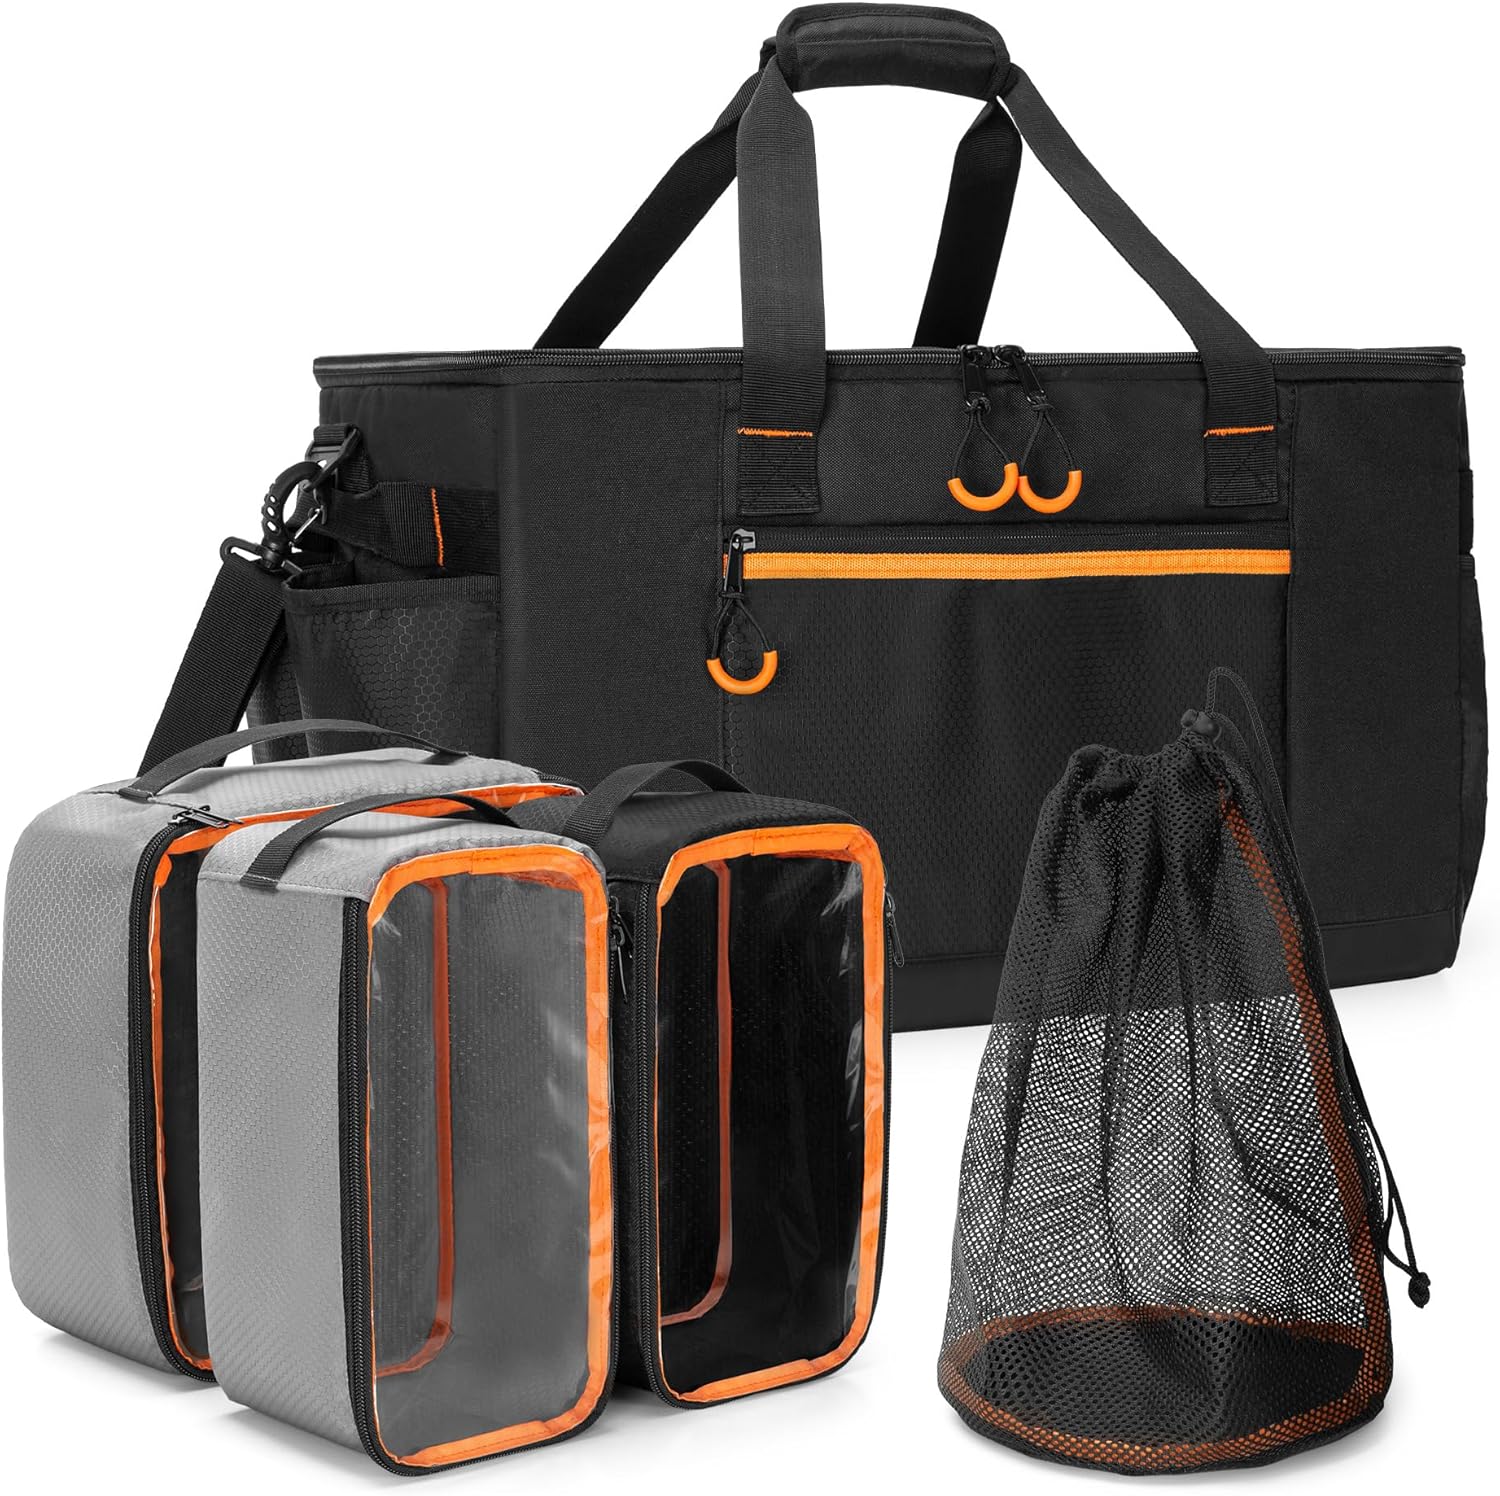
A cluttered camp kitchen leads to lost utensils, spilled spices, and plenty of frustration at mealtime. Organizers for camp kitchens and small gear solve this by giving every item a clear home, from cooking tools to batteries and cables. This buying guide walks you through the main organizer types, the features that matter most, and how to keep everything easy to find, including at night.
What Camp Kitchen Organizers Do and Who They Suit
Camp kitchen organizers are designed for anyone who cooks and eats outdoors: first-time campers, families, and regular car campers who want a quick setup and a tidy site. Their job is simple. They take loose items, like spatulas, spice bottles, skewers, and cutlery, and group them in a way that protects them and makes them visible.
Organizers also protect your gear from grit and moisture. A utensil roll keeps clean spoons from touching a dusty table. A clear bin lets you spot the can opener without pulling everything out. If you have ever unpacked an entire camp kitchen box to find one small item, you already understand the value. The right system saves time, reduces waste, and makes cooking outdoors feel much less stressful.
Main Types of Organizers and How They Differ
Not all organizers work the same way, and the differences matter more than you might expect. Here is a look at the most common types and what each one does best.
Hanging Organizers
Hanging organizers give you vertical storage in a place where table space is scarce. They attach to a camp table edge, a clothesline, or a rolled-down tailgate. Most have multiple pockets in different sizes, so you can sort spices, cooking oil, matches, and small tools by how often you use them.
Because they hang, they keep things off the ground and away from curious insects. They also make cleanup easier. You can see every pocket at a glance, which is useful when you are cooking in low light. If you camp at a site with picnic tables, check how the organizer clips onto the table edge. Some rely on straps or hook-and-loop closures, while others use weighted bars. Choose a design that will stay stable in a breeze. hanging organizers range from simple pocket panels to elaborate multi-tier units, so match the size to your cooking routine.
Utensil Rolls
Utensil rolls are compact, fabric sleeves with individual slots for long tools like spatulas, tongs, ladles, and carving knives. You roll them up and secure them with a strap or a tie. They take up very little space in a bin and keep sharp edges separated from softer items.
A utensil roll is a good choice if your kit has many long-handled tools that tend to tangle. It also works well for skewers, marshmallow roasting sticks, and chopsticks. Some rolls include a zippered flap for smaller items like bottle openers or a small folding knife. Look for a roll with heavy-duty seams and sturdy stitching, because it will see a lot of bending and tugging. utensil rolls are easy to pack flat in a tote or a drawer and can be wiped clean with a damp cloth.
Zippered Pouches
Zippered pouches are the catch-all solution for small items. They come in many sizes and shapes, from slim sleeves for cutlery to bulky cases for condiments or first aid supplies. A pouch keeps contents contained even if the bin tips over, and the zipper keeps dust and sand out.
Consider using pouches to group items by meal, rather than by type. For example, one pouch can hold breakfast essentials: small jars of peanut butter, honey, and instant coffee. Another can hold cleanup supplies like dish soap and scrubbers. Pouches made of coated fabric or heavy-duty waterproof material are easier to clean when something spills. Make sure the zipper pulls are large enough to grip with cold or damp hands.
Spice Kits and Condiment Carriers
Spice kits are specialized pouches or cases with elastic loops, pockets, or slots designed to hold small bottles and jars. They prevent caps from popping off and keep glass jars from clinking together during travel. A well-designed spice kit sits flat in a bin or hangs flat against a table leg.
Condiment carriers often include squeeze bottles that you fill yourself, which helps you avoid carrying bulky glass bottles from home. Look for bottles with tight, leak-proof caps, and always transport them upright. A simple canvas roll with elastic loops works for your everyday seasoning mix as well as for barbecue sauce sachets. You can also choose a small clear bin with a snap lid for spices that you want to see at a glance. Just make sure the bins have secure gaskets to stop spills.
Battery Cases and Cable Organizers
Batteries are necessary for headlamps, lanterns, and camera equipment, but they are hazardous if they short out against metal objects in a loose bin. A dedicated battery case holds each cell separately and covers the terminals. This is the safest and most organized way to carry spare batteries.
Cable organizers help with charging cables, adapters, and power banks. Simple neoprene pouches or roll-up fabric sleeves keep cords from tangling with kitchen tools. You can also use small plastic bags, but fabric organizers last longer and let you see the contents. Follow the manufacturer guidance for battery storage and always pack batteries away from food and liquids.
Clear Bins and Labeling
Clear bins are the backbone of a camp kitchen storage system. They let you see exactly what is inside without opening a lid, and they stack neatly when your gear is in storage. You can use them for dishes, cooking utensils, pantry staples, or cleaning supplies. To keep contents easy to find, add a label to the front of every bin. You can write directly on adhesive labels or use a piece of masking tape and a permanent marker.
Clear bins pair well with the other organizer types. A bin can hold a utensil roll, a spice kit, and a few pouches, keeping everything together in one handleable unit. For a deeper look at sorting gear into bins, see our guide on how to organize camping gear in storage bins. That article explains the step-by-step process of grouping equipment and choosing containers that fit your vehicle and your habits.
Features That Actually Matter
When you compare organizers, focus on a few meaningful features rather than the little extras that sound nice but add bulk.
- Fabric quality. Look for a heavyweight, tightly woven fabric. Ripstop weaves and coated materials resist punctures and are easier to wipe down.
- Zippers and closures. A smooth-running zipper with a sturdy pull is essential. Metal zippers look classic, but they can corrode with repeated exposure to humidity and salt air. A coated zipper or a plastic zipper is often more reliable.
- Attachment methods. Check if a hanging organizer uses fixed straps, adjustable hooks, or hook-and-loop strips. Make sure it will fit the edge of your table or the frame of your canopy.
- Ease of cleaning. Anything that holds food or utensils should be wipeable. Fabric that can handle a spot clean is fine; fabric that needs a special cleaner is not worth it.
- Portability. Organizers should collapse flat or roll up when empty. If something takes up as much space as the gear it holds, it is not earning its spot.
| Organizer Type | Best For | Key Feature to Check |
|---|---|---|
| Hanging organizer | Keeping spices and small tools visible while cooking | Secure clips that grip the table edge or support pole |
| Utensil roll | Long handled tools and sharp knives | Sturdy slots and a tight closing strap |
| Zippered pouch | Grouping condiments, cleanup supplies, or breakfast items | Smooth zipper and a water resistant lining |
| Spice kit | Preventing bottle caps from loosening on the road | Elastic bands that hold bottles firmly in place |
| Battery case | Storing spare batteries safely | Terminal covers and a secure latch |
| Clear bin | Stackable storage of larger items and pantry goods | A tight lid and a label area on the side |
Sizing, Fit, and Compatibility
The best organizer is the one that fits your existing setup. Start by looking at the space where you plan to store or hang the organizer. If you use a folding camp table with a slotted top, a hanging organizer with broad clips will stay put. If you use a tailgate, look for a unit with lashing loops or a strap that wraps around a headrest.
For clear bins, assess how you pack your vehicle. A wider, shallower bin is easier to slide under a seat, while a tall, narrow bin fits well in a floor compartment. Do not focus on exact measurements unless you know the precise interior space of your trunk or tote. Instead, bring a measuring tape on your next trip, note your storage space, and compare it to the spec sheet of any organizer you buy. A common rule of thumb is to leave enough room at the top of the bin so you can close the lid without squashing the contents.
Also consider how the organizer will interact with your cook setup. A hanging organizer full of tools can become heavy, so hang it from a sturdy anchor point. Never hang a fuel bottle or a pressurized stove. Check the manufacturer instructions for both your table and your organizer to ensure a dependable setup.
Keeping Small Items Findable at Night
Nighttime is when disorganized gear becomes a real problem. You are tired, it is dark, and you need a spork or a battery. A few simple habits make a huge difference.
First, give every small item a set home. If your headlamp battery always lives in the same zippered pouch, you can find it by feel. Second, use labels that are readable in low light. Write clearly with a permanent marker on light colored tape, and consider adding a strip of glow tape to the outside of a bin or pouch. Third, keep a tiny keychain light or a headlamp hooked inside the kitchen bin itself. Then you only need to unzip the main cover to see the rest.
If you use a hanging organizer, place the items you reach for most often at eye level or in the top pockets. Reserve the lower pockets for rarely used tools. Keep batteries away from moisture and from metal objects like knives or can openers, and always check the expiration date printed on the battery label.
Common Buying Mistakes
People often buy organizers before they know what they need, and that leads to a box of barely used gear. Here are the biggest mistakes to avoid.
Buying too many specialized pieces. A utensil roll does one job well, but you do not need one for cooking, one for eating, and one for cleaning. Start with one good roll and one hanging organizer, then add only if you find a specific gap.
Ignoring the attachment system. A hanging organizer with heavy clips will not stay on a flimsy table edge. A roll without a strap will loosen and let tools fall out. Always check how the organizer secures itself.
Choosing rigid cases when you pack soft. Hard-sided cases protect fragile items, but they waste space when empty. If you travel with soft duffels and packed bins, flexible fabric organizers are easier to wedge into gaps.
Forgetting about drying airflow. A zipped pouch that holds moist dish towels will trap odor and mildew. Choose mesh or breathable fabric for items that need to air out after use. Check your organizer’s care instructions and let everything dry before packing away.
Care, Cleaning, and Upkeep
Organizers take most of the abuse in camp, so they need regular care. After every trip, shake out crumbs and sand. Wipe fabric organizers with a damp cloth and a mild soap if needed. For heavier stains, spot clean with a soft brush. Let everything dry fully before closing the zippers or rolling it up. Moisture trapped inside a pouch can cause mildew on your tools.
Check the closures and seams once in a while. If a zipper starts to skip, apply a small amount of zipper lubricant and see if it smooths out. If a strap tears, repair it before the next trip. Some organizers can go in the washing machine on a gentle cycle, but many cannot. Always follow the label on the product. Storing your organizer flat or rolled in a dry spot is best. For broader guidance on keeping all your camping gear orderly, look at our camping storage resources and the detailed advice on equipment organizers.
FAQ
What is the best way to organize a camp kitchen?
Start by grouping everything you pack by function: cooking tools, tableware, pantry items, cleaning supplies, and small accessories. Put each group in a separate clear bin or pouch. Reserve one hanging organizer for items you use constantly while cooking, such as spatulas, cooking oil, and spices. Label the outside of each bin so you can grab exactly what you need from your vehicle or tent.
Can clear bins work for spices and small parts?
Yes. Clear bins work well for spices if they have a tight sealing lid to keep moisture and insects out. For tiny parts like matches, skewer tips, or extra can openers, a clear bin with divided compartments makes them much easier to find. Place a label on the lid and the side, and keep the bin in a convenient spot inside your camp kitchen box.
How should I pack batteries for camp?
Use a dedicated battery case that keeps each cell separated and covers the terminals. Never let loose batteries roll around in a bin with metal tools, because they can short circuit and cause heat or damage. Follow the manufacturer instructions for the type of battery you use, and store batteries away from food and water.
Are hanging organizers safe to use with a camp stove?
You can use a hanging organizer near a camp stove for utensils and spices, but you must keep it a safe distance from the flame and out of the way of cooking splatter. Never hang a fuel bottle, pressurized canister, or stove itself from an organizer. Check the manufacturer instructions for both your stove and your organizer, and make sure the entire setup is stable before you light the burner.
Building a well-organized camp kitchen is a gradual process. Pick one problem area, choose an organizer that fits the way you pack, and label everything you put away. A little order at home will pay off every time you reach for a spoon in the dark.