Organizing camping gear in storage bins turns a pile of loose bags into a system you can load without thinking. The easiest approach is to work by category: one bin for the kitchen, one for sleeping gear, one for lighting, and one for tools, with clear labels and a checklist inside each lid. This guide shows you how to build that system, choose bins that fit your car, and keep food bins wildlife-safe at the campground.
How a category-based bin system works
Categories mirror how you use camp. The kitchen bin travels to the cooking area, the sleep bin goes to the tent, and the lighting and tools bins stay near the vehicle or camp table. When you pack for a trip, you pull the bins you need and check the lid list before you leave. When you return, each bin gets emptied, cleaned, and restocked, so the system stays ready.
| Category | What goes inside | Packing tip |
|---|---|---|
| Kitchen | Cookware, utensils, plates, mugs, stove, dish soap, wash basin | Store fuel separately and follow the stove manufacturer’s instructions. |
| Sleep | Sleeping bags, pillows, camp blankets, sleepwear | Use a stuff sack for each sleeping bag; keep the bin clean and dry. |
| Lighting | Lanterns, flashlights, headlamps, batteries, spare bulbs | Remove batteries before long-term storage. |
| Tools | Stakes, mallet, repair kit, multi-tool, rope, work gloves | Sheath or wrap sharp tools before packing. |
| Food | All food, snacks, trash, and scented items | Store in a vehicle or bear-approved locker; follow campground rules. |
What you need
You do not need a complex inventory system to organize camping gear. Start with a set of storage bins in a few sizes, then add the small items that keep each bin tidy.
- Sturdy bins with lids that close securely, in a few sizes
- Adhesive labels or painter’s tape and a permanent marker
- A printed or handwritten checklist for each bin
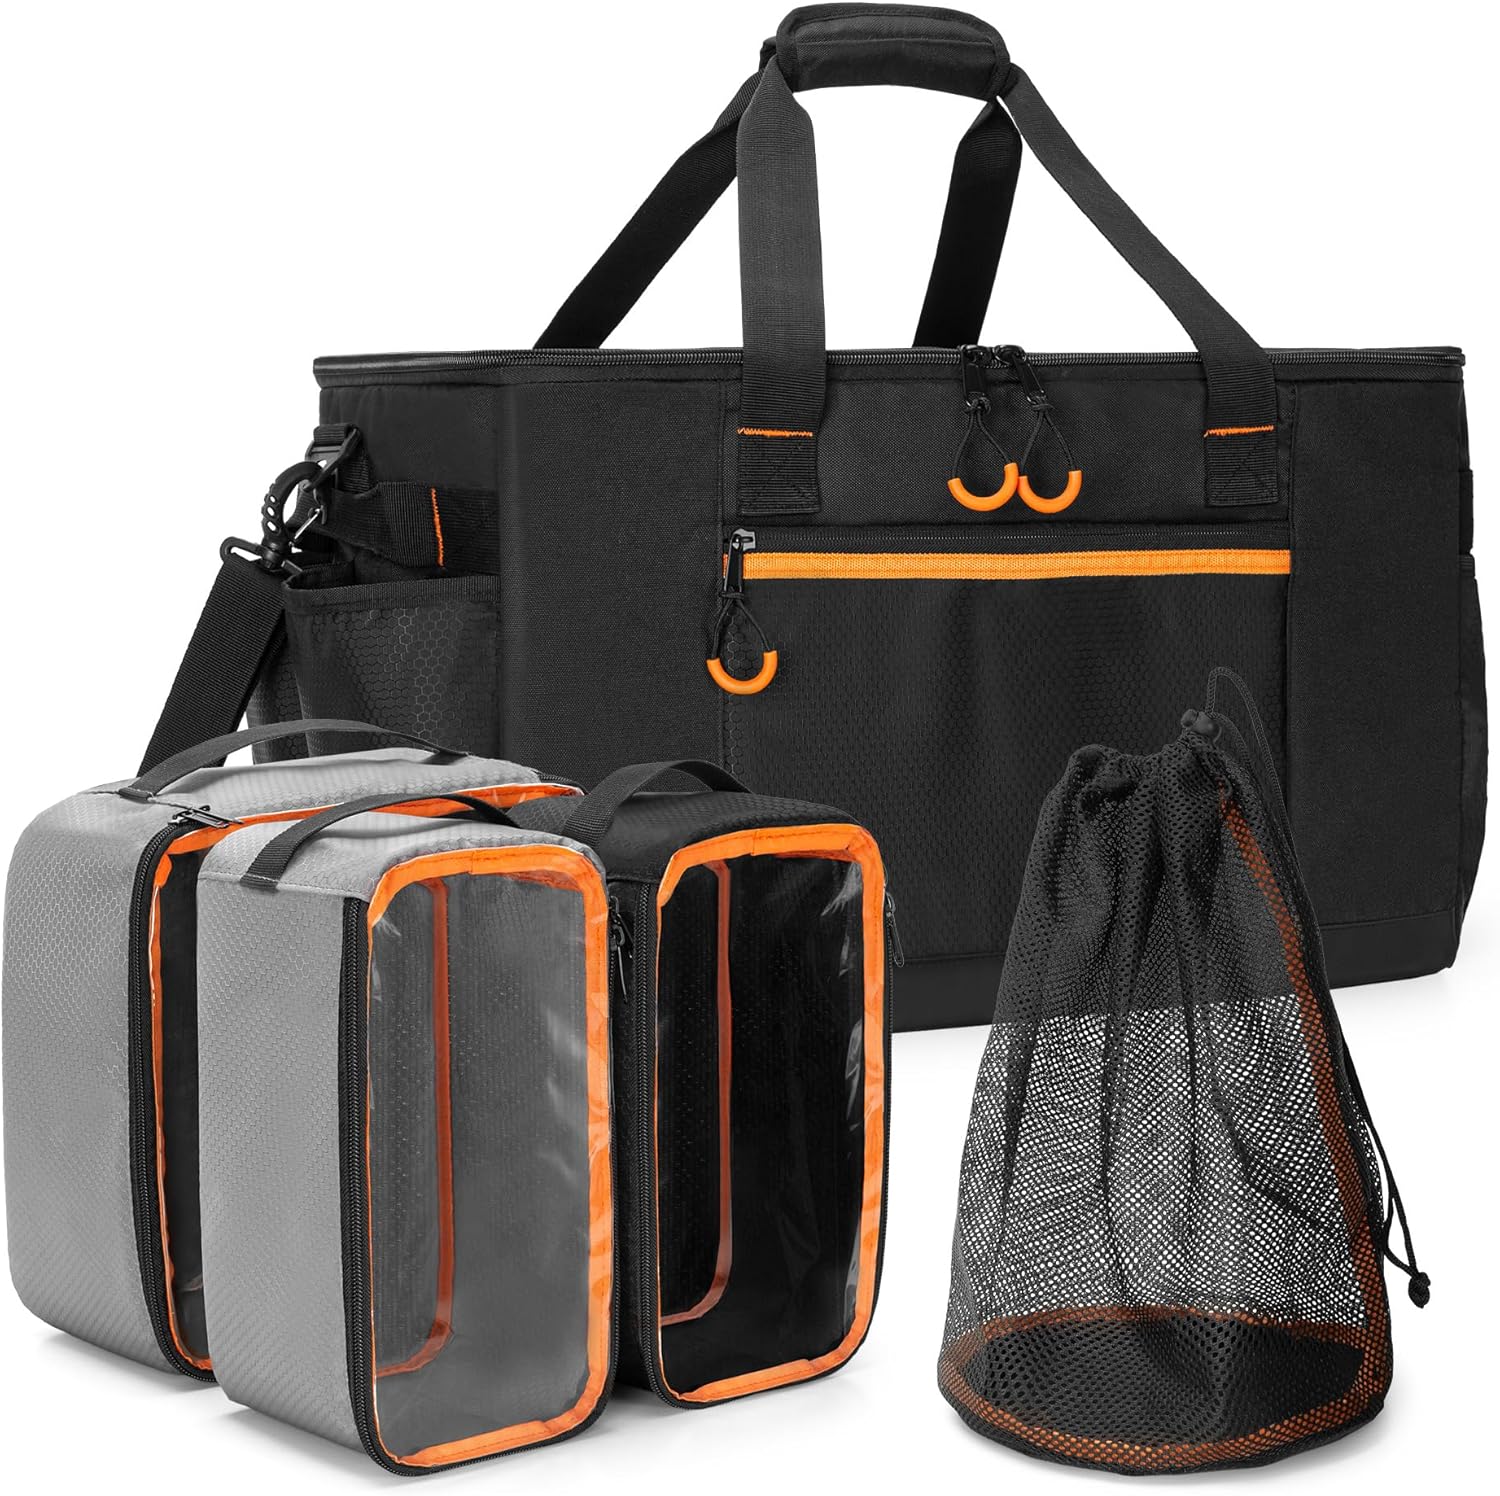
- Small bags, stuff sacks, or containers to group loose items inside the bins
- A dry place at home to store the loaded bins
Different bin shapes and latch styles matter, so read the guide to camping storage bins before you buy. If you also use hanging organizers or duffels around camp, the camping storage section has more ideas. When sleeping bags or clothing need extra protection from moisture, learn how to choose a dry bag.
Step-by-step instructions
Step 1: Sort gear into categories
Empty all your camping gear onto a tarp or clean floor and group it by function. Keep the core categories simple: kitchen, sleep, lighting, and tools. If you regularly carry a separate category such as camp furniture or medical supplies, give it its own bin instead of forcing it into another one. A food bin is not optional when you carry food, so set that aside as its own group from the start.
Step 2: Choose bin sizes that fit your car
Measure the cargo area of your vehicle before buying bins, and imagine how the bins will sit when you load the car. Wide, shallow bins slide easily under a tailgate or bench, while tall, narrow bins fit into tight spaces between other gear. Square bins use space more efficiently than round containers. Keep heavy items in smaller bins so you can lift them without straining your back.
Before you transfer your gear, test-fit the empty bins in your car. Turning a bin on its side or using a soft-sided bag can solve an awkward space that looked fine in the store.
Step 3: Pack each category logically
Once you have the right bins, pack each one so the items you use first are easiest to reach. Keep frequently used items near the top of each bin and seasonal gear near the bottom. Group small parts in bags so they do not disappear into the corners.
- Kitchen: nest pots and pans, pack plates and mugs upright, and keep the stove in a small case. Store fuel canisters separately and review the stove manufacturer’s storage instructions.
- Sleep: stuff each sleeping bag in a compression sack or plain stuff sack, then stack pillows and blankets around them.
- Lighting: pack lanterns and headlamps in a box within the bin and add a labeled bag for spare batteries. Remove batteries from devices before storage to avoid corrosion.
- Tools: place stakes, mallet, and repair gear at the bottom and keep the bin’s weight manageable. Sharp tools should stay in sleeves or sheaths.
Step 4: Label every bin
Write the category name on the front and on the top of each bin using a label or tape. Large writing lets you find the kitchen bin in a dark tent or a packed vehicle. If you use several bins in the same category, label them clearly, such as “Kitchen – cookware” and “Kitchen – pantry.” Color-coded labels make the system even faster to read.
Step 5: Attach checklists inside the lids
A checklist inside the lid turns each bin into a self-contained packing list. Print or write the list of items that should be in the bin, then tape it to the inside of the lid. Before a trip, open the bin and check off the list. When you clean up after a trip, the list shows you what needs to be restocked or repaired.
Laminating the checklist or covering it with clear tape allows you to update it with a dry erase marker. Keep the list accurate: if you stop carrying an item, remove it from the list so the checklist stays useful.
Step 6: Keep food bins wildlife-safe
Food is the item most likely to attract wildlife, so it deserves a dedicated bin. Keep all food, snacks, trash, and strong-smelling pantry items in one sealed bin, and never store it inside your sleeping tent. Follow the food storage rules for the campground, national park, or public land where you are staying. Many areas require food bins to be locked inside a vehicle or placed in a provided bear-resistant locker during the night.
Even during the day, do not leave a food bin sitting open on a picnic table. Cook and eat downwind of your sleeping area, store the food container closed when you are away, and pack out all wrapper scraps and crumbs. Check the campground rules for current food storage and fire restrictions before you arrive, and follow the official guidance for that land.
Common mistakes
Most bin systems fail for a few simple reasons. Push back against these habits and the system will keep working.
- Overstuffing bins. A bin you cannot lift becomes a bin you avoid. Use a larger number of small and medium bins instead of one heavy container.
- Mixing categories. When gear from the kitchen ends up in the tools bin, you spend the whole trip digging. Put each item back in its own bin at the end of every trip.
- Skipping labels. Unlabeled bins all look the same. Label every side you can see, not just the top.
- Keeping the checklist only in your head. Write the list, put it inside the lid, and check it.
- Storing food near the sleeping area. Even a harmless snack bar can attract wildlife. Treat all food storage as seriously as the campground rules do.
- Storing fuel in the kitchen bin. Store fuel separately, in a cool ventilated place, and follow the manufacturer’s instructions.
Troubleshooting
What if the bins do not fit in my car?
Skip the shelf and take the bins to the car before you pack them. Test how they sit in the cargo area and under the seats. If a bin is too tall, turn it on its side or choose a shallower container. For narrow spaces, use a soft-sided bag or a long, flat bin that slides behind the wheel wells. Gear bags can be squeezed around the bins to fill odd gaps.
What if one category has too much gear for a single bin?
Split the category into two labeled bins, such as “Kitchen – cookware” and “Kitchen – pantry.” Keep the main checklist in the bin you open first, or attach the same full checklist to both lids. When you store bins at home, stack the matching pair together so they stay connected.
How do I deal with bugs or moisture at home?
Clean and dry every item before it goes back into the bin. Crumbs and damp fabric attract pests and mold. To keep gear fresh, store bins off the bare floor, keep lids closed, and add a moisture absorber if the storage area feels humid. Check your gear each season and replace anything damaged before the next trip.
What if the campground requires bear-resistant storage?
Follow the official land manager rules exactly. They may require a bear locker, a bear canister, or a specific approach for hanging food. If the posted rules are unclear, ask a ranger or campground host. Never leave food in a tent or unattended at a picnic table where local rules prohibit it.
FAQ
What are the best categories for camping gear bins?
The core categories are kitchen, sleep, lighting, and tools. Add separate bins for food, camp furniture, or medical supplies if you carry those items regularly. The goal is that each bin has one clear job and one clear label.
Where should I store food bins while camping?
Store food bins in a vehicle or an approved bear-resistant locker, away from the sleeping area, and always follow the food storage rules for the campground or land manager. Do not keep food in your tent.
Should fuel canisters be stored with the kitchen gear?
No. Keep fuel canisters separated from cookware and store them according to the manufacturer’s instructions. Never leave fuel near a heat source or inside a sleeping area, and follow the campground’s rules about fuel storage.
What is the simplest labeling system?
Use a marker and a piece of durable tape, or a self-adhesive label on the front and top of each bin. Write the category name in large letters and keep a printed checklist inside the lid. Color-coded labels are a nice upgrade but not required.
A category-based storage bin system takes one afternoon to set up and then pays off on every trip. Pack the kitchen, sleep, lighting, and tools bins, label them clearly, and make lid checklists a habit. Always keep food bins wildlife-safe by following the campground and land manager rules.